

My video shows you very easy way to add trim to your lampshade and all you need is your lampshade, scissors, trim, tape measure, glue gun and a lint roller.

If you don’t have a glue gun then you can pick one up from any craft shop or online shop and usually cost about £10. Glue guns are a great addition to any crafter and can be used for a variety of projects. However if you don’t have a glue gun, you can always use lampshade making double sided tape which you can find from places like Dannells.

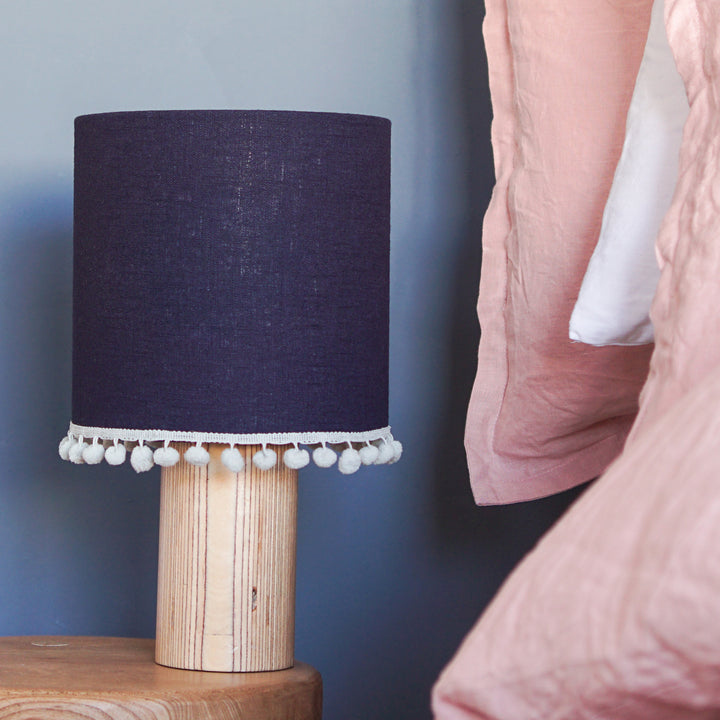
Top Tip - Remember to add trim to the correct edge of your lampshade. If your lampshade is being used on a lamp base then make sure to add your trim to the edge that is closest to the fitting ring. However if you use your lampshade as a ceiling pendant then make sure to add your trim to the edge that is furthest away from your fitting ring.

Enjoy crafting!

